First Green Tea
We are two years into this publishing effort with no books to show for it. That is about to change. Our first work, Mission to Brazil (to Research the Cultivation and Preparation of Tea, 1839), is quite close to completion. An ISBN is assigned. The cover design is done. Book layout is almost finished. The printer awaits! Details to follow once physical copies are produced.
The book describes tea production in Brazil in the first half of the nineteenth century. In order to be halfway competent in preparing a work on an area that we knew not so much about, a parallel process has taken place. We have learned how to grow tea plants and how to make tea. Then we started planting tea, and today we made tea.
Actually, it has been a process. First, there was a pandemic to rearrange our priorities. Then Zoom meetings became a thing. And then, time spent following internet rabbit holes lead to additional information and sources. The result was training in how to make various forms of tea – green, black, yellow and oolong – from the crew at the US Tea Experience. Visits to regional sites with tea plants have given us material for both growing plants and making tea. All of this led us to try making green tea the past two weekends.

Two leaves, one bud
First of all, why green tea? The process can be completed in a day, unlike other varieties of tea that can stretch into several days as the various steps are completed. We plucked early in the morning, at first light. In 30 mins we gathered a pound (500 gm) of fresh, new growth tea leaves. We followed the “two leaves and a bud” plucking standard. There was some variation in the size of the distal (older) leaves but all were soft and therefore workable for our needs. The freshly harvested leaves were placed into a large zip lock bag with a paper towel to absorb excess moisture from transpiration. The bag was transported unsealed in a cooler with ice packs back to our work space. The leaves could wait several hours in cool storage if needed. We were back home about 90 mins after completing our pluck.
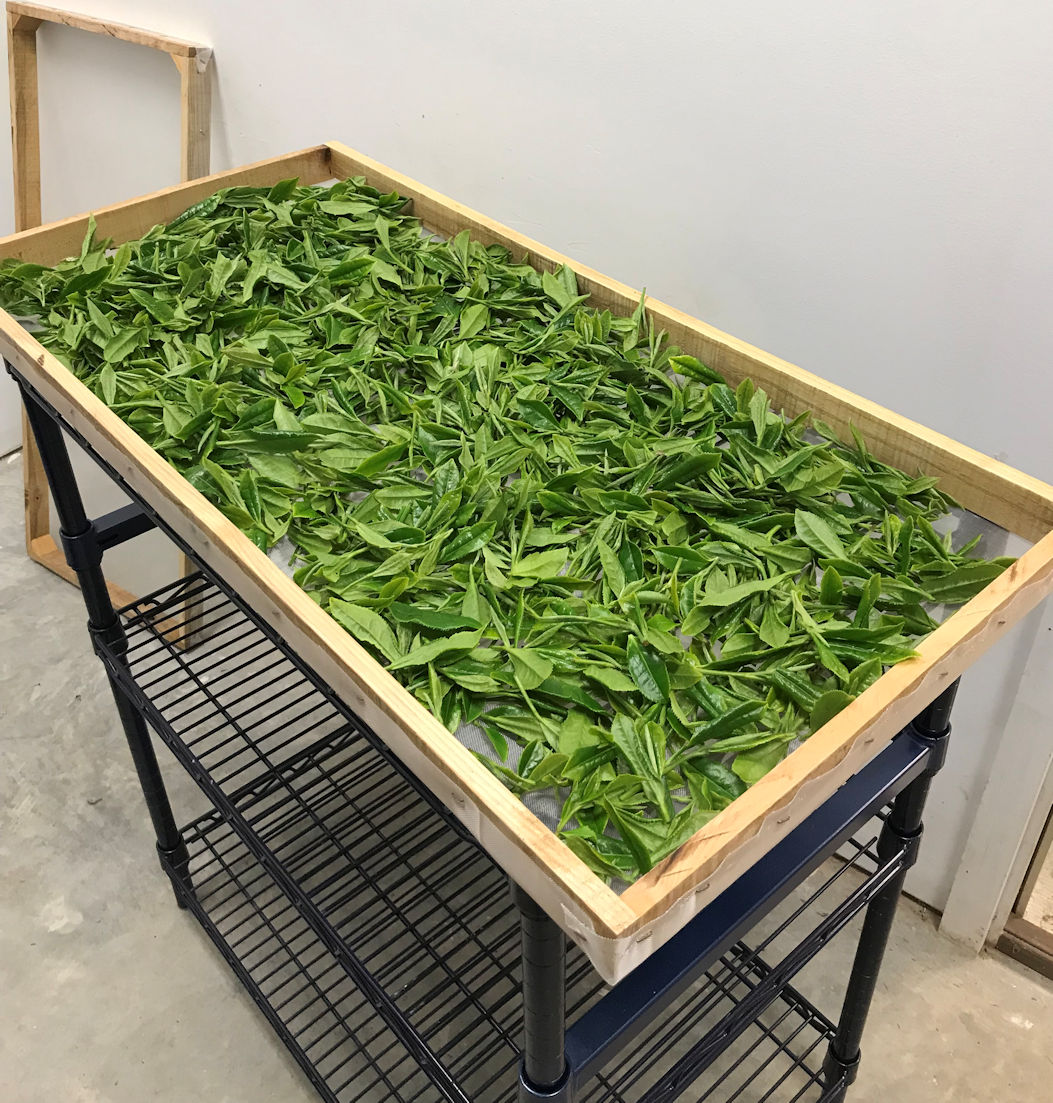
Homemade withering racks
The first processing step is to wither the leaves – setting them out to soften by the loss of water. This makes the leaf more workable (the physical wither) but also allows chemical processes to occur within the leaf that generate and alter aroma compounds that will affect the flavor profile of the finished tea (the chemical wither). The goal is to lose about 20% of the leaf moisture in 4-6 hours. A shorter wither can lead to greater bitterness in the tea. Not a bad thing, just not what we were going for with these first efforts. The moisture loss is followed by measuring the decrease in weight over time (all lost weight is assumed to be water). Ambient temperature and relative humidity directly affect the speed that this occurs. We were lucky – our current morning temperatures are in the 60-70oF range with 50-60% RH. That allowed a four-hour wither indoors. We cheated a little by exposing the leaf in both batches to direct sunlight for short times. This serves to push the wither along more rapidly and also forms additional flavors from the action of ultraviolet light on leaf compounds. That is a trick borrowed from oolong production that may improve our final product flavor and aroma profile. We will need to do more batches to test out that idea.
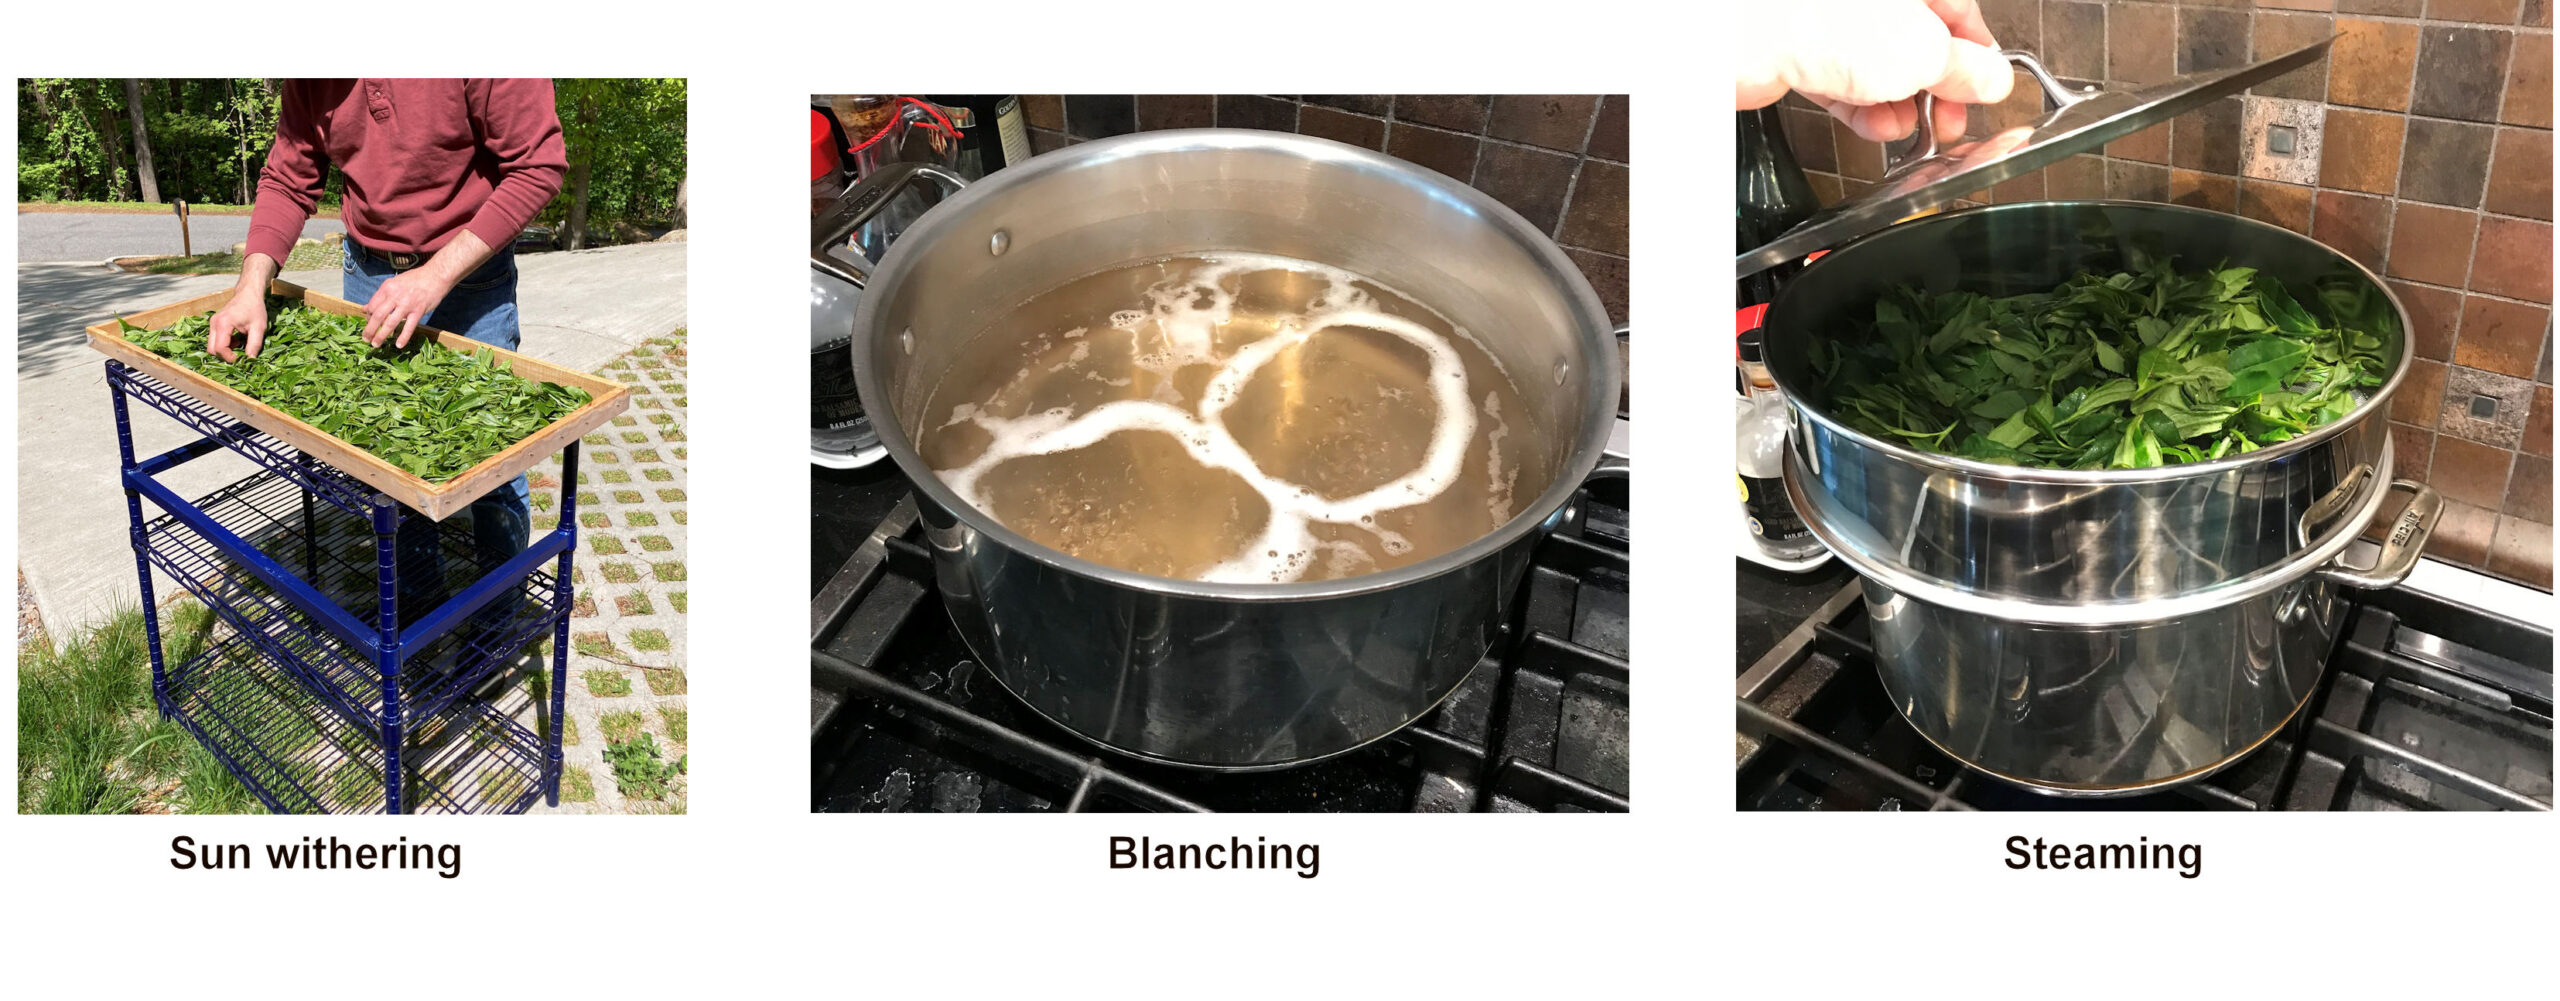
The next step is to preserve the green color. The “Kill Green” step stops the enzyme that causes browning, polyphenol oxidase (PPO), buy heating the leaves to at least 155oF. At that temperature PPO is inactivated but other enzymes that break down leaf cell components into pleasant aroma compounds are still active. There are several ways to do this, blanching in boiling water, steaming, heating in a pan and even microwaving. So far we have tried the first two. Blanching is fairly easy. The withered leaves are placed in boiling water for 15 secs then immediately transferred to an ice bath. Our first batch was done that way. It seemed to work but the water we used to blanch the leaves had a wonderful green tea smell when we finished. Some (much?) of our hard earned aroma was lost to the boiling water. Probably not going to do that again. Steaming was a little more involved but not too hard to pull off. We did use a special piece of equipment – a cake flour sifter. It has a stainless steel rim with a stainless steel screen bottom. They come in various diameters (eBay). A 12 inch sifter fit on top of our largest pot. There was a cost, but the sifter did double duty as a vessel to hold leaves as they were dried in the final step. Some aroma compounds may be lost with steaming – think espresso. We can’t offer an opinion on that yet. Covid came in between the two batches and left our sense of smell a little stunned. It seems to be slowly returning but not to the point that we trust it to make any comments.
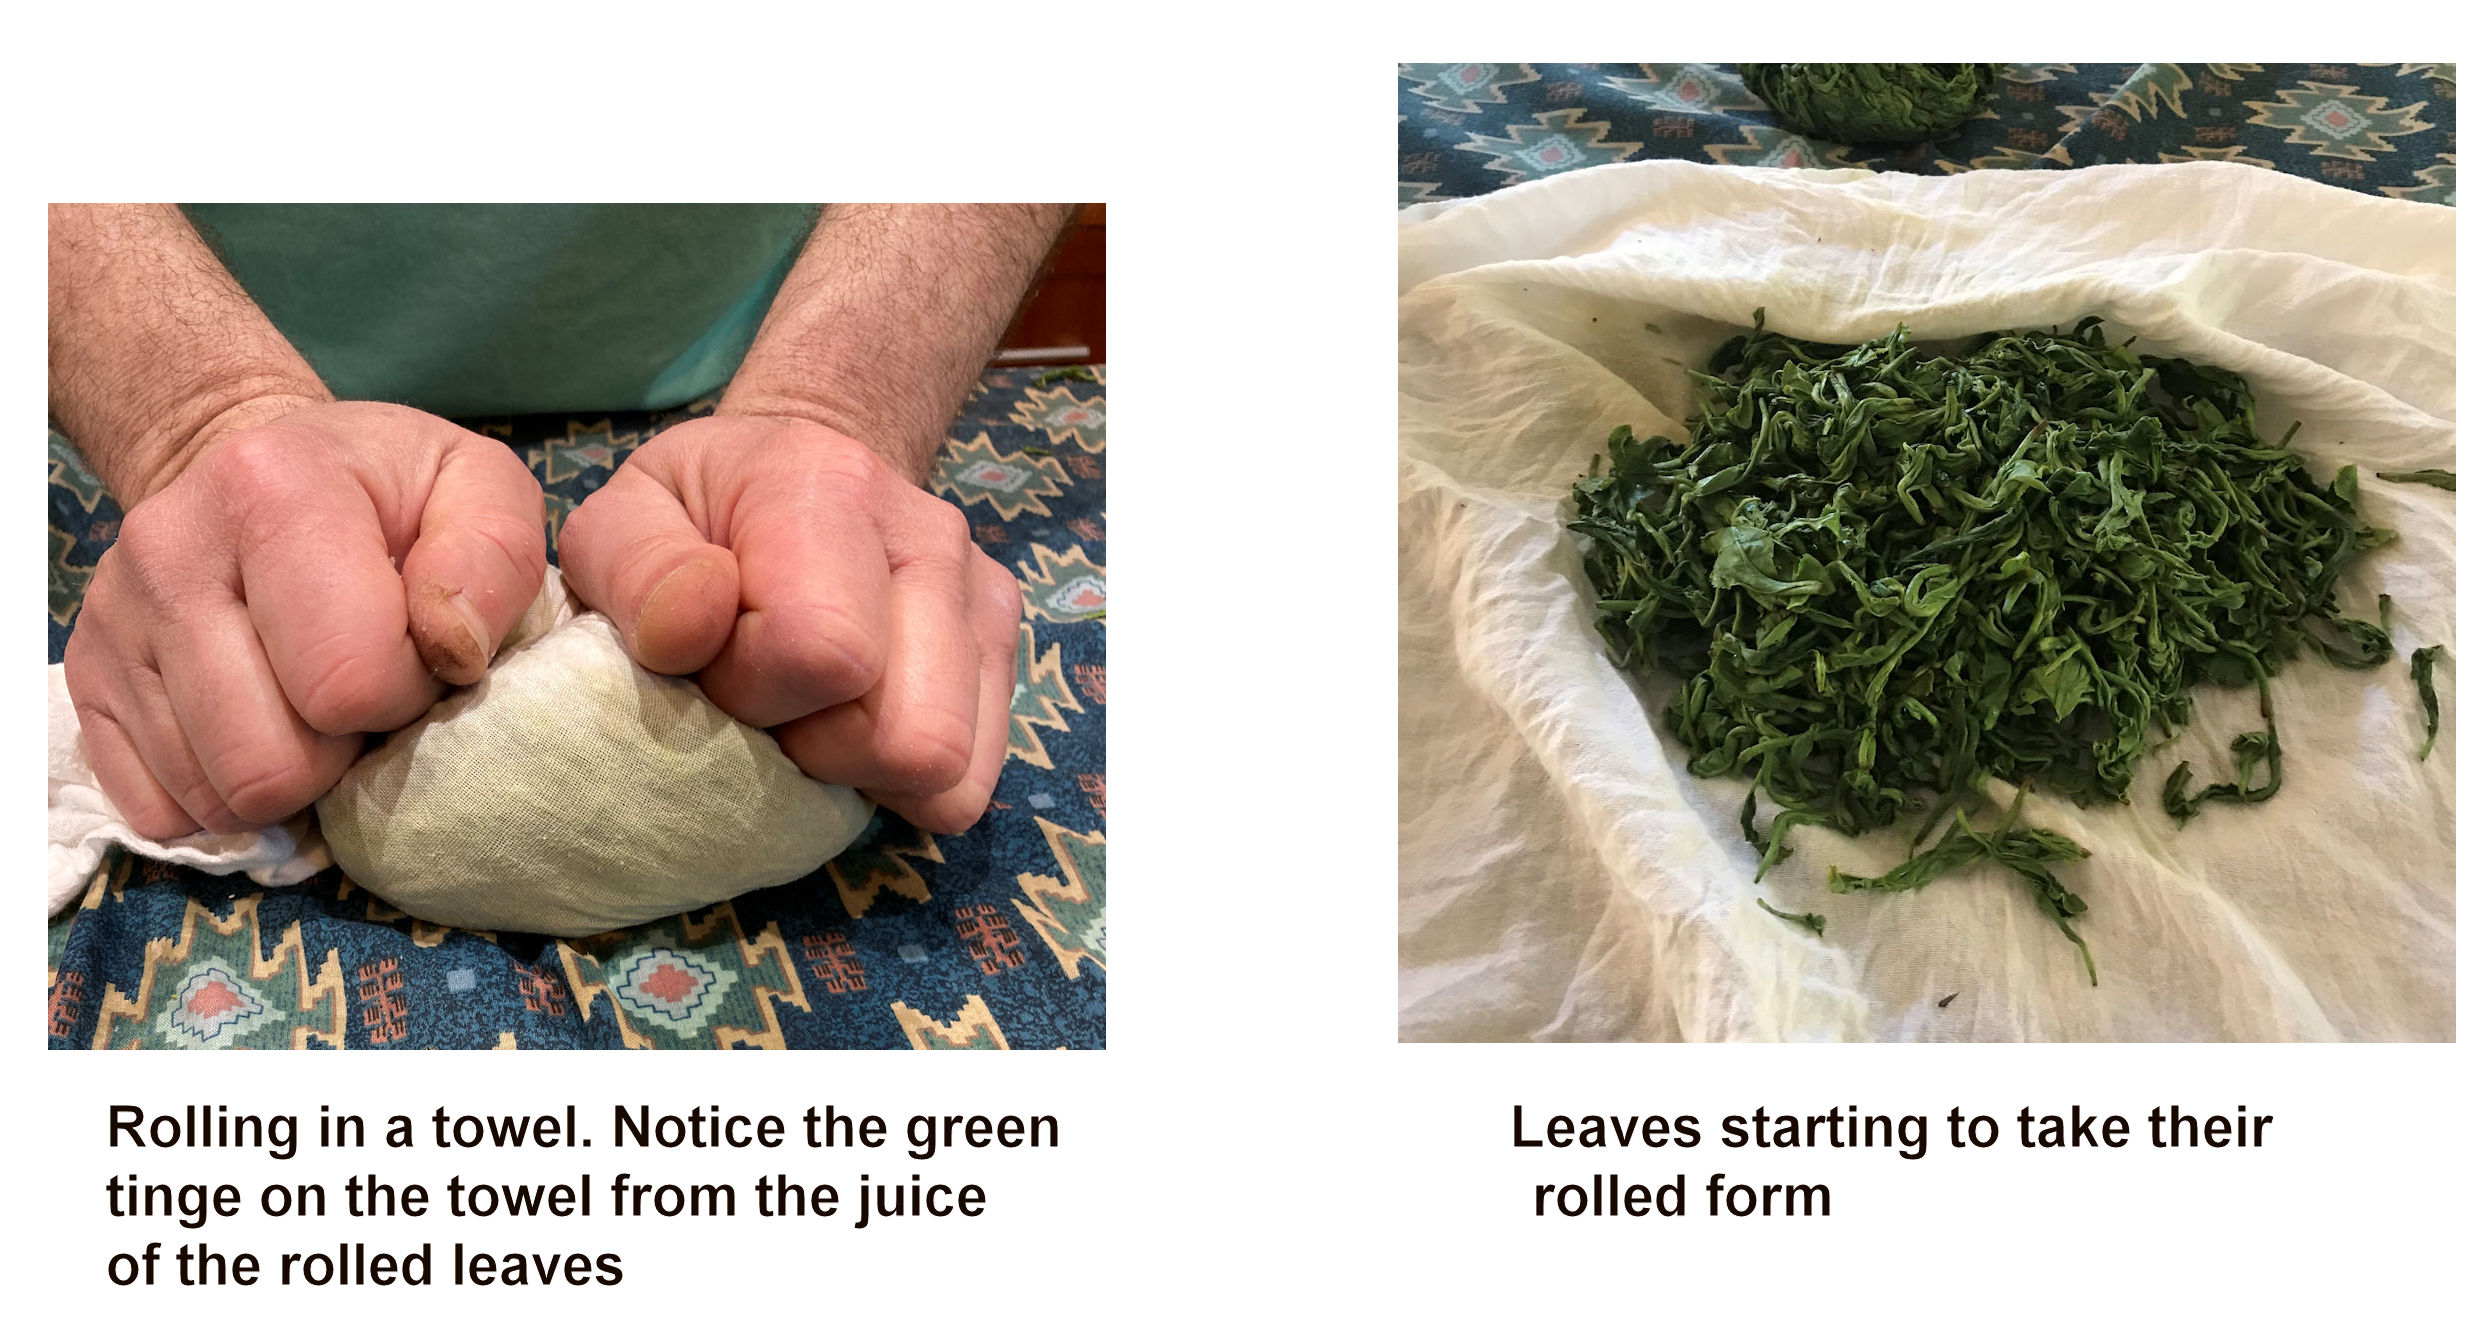
After the leaves are blanched or steamed, and in and out of the ice bath, they take a turn in the salad spinner to remove water. After that they are rolled. This is a process of breaking down the leaf structures to liberate cellular compounds that can be broken down by the remaining active leaf enzymes to generate more aroma and modify bitterness. For green tea the roll is light and short. We did ours for fifteen minutes with the leaves balled up in a thin hand towel (a technique taught in the US Tea Experience course) that was rolled on a tablecloth for some friction. We stopped every few minutes to undo and spread out the ball of leaves, then wrapped them back up tightly and got to it again. You go until moisture comes out of the leaves – staining the towel green. Inadequate rolling and breaking up the leaf structure can lead to a lighter tea. That may have happened with our batches. The leaves are then separated and placed back on the withering rack to dry out and have a second wither. This step needs to move along. The leaves are wet and will decompose if they stay that way. We aimed a portable electric fan at the rack for the first batch. The second batch was set just inside an opened exterior door to let a natural breeze blow over the leaves. Both methods dried the leaves in about an hour.
Finally, the leaves are dried for long term storage. Our only way to do this is our kitchen convection oven. The oven does not have any strong aromas from previously cooked items. The lowest setting is 170oF, which is within an acceptable range for drying tea. The convection fan turns on at this lower temperature. The temperature was confirmed with an oven thermometer set on the rack. Leaves were stirred within each sifter about every 15-20 minutes. Opening the oven door to stir the leaves allowed moisture to escape. The 12 inch shifter pan we used for steaming the second batch worked well as a drying rack. We have two which seemed to be the right number to hold our batch in divided portions. No leaf fragments fell through the screen. For the first batch we used a large steaming pan that had numerous 3/16 inch holes. The tea dried but small pieces fell through the holes each time we stirred or tossed the leaves. The leaves are considered done when they reach 2 – 4% residual moisture. You are there when a piece of dried stem crunches when bitten. For us that was reached about 1-3/4 hour after we started. Most aroma loss occurs during drying so you don’t want to overdo it.
The leaves were allowed to cool and were then packed into old tea tins. We took advice from Lt. General José Arouche (1756-1834) who prepared his tin containers to store tea leaves by rinsing them three times with boiling water followed by filling them with freshly brewed tea. His advice is in Mission to Brazil. We skipped the tea-filling part as we did not want to flavor our new green tea with black tea scents and we didn’t want to waste the green tea we had on this project. A fun label made it all look legitimate.
So how did we do? The first batch was light. I blame the blanching step. I think we lost too much of our future flavor to the blanching water. You can see the color of the water in which we blanched the leaves in the picture above. Both batches have the correct green tea color when brewed – pale green with no brown tinge. The aroma of the first batch was appropriate for a green tea, just lighter than commercial preparations. I’m holding off on judging the second batch until my sense of smell recovers. The Brown Dog mate indicates that it is okay but she is an easy grader on projects like this. She doesn’t like to see me pout.
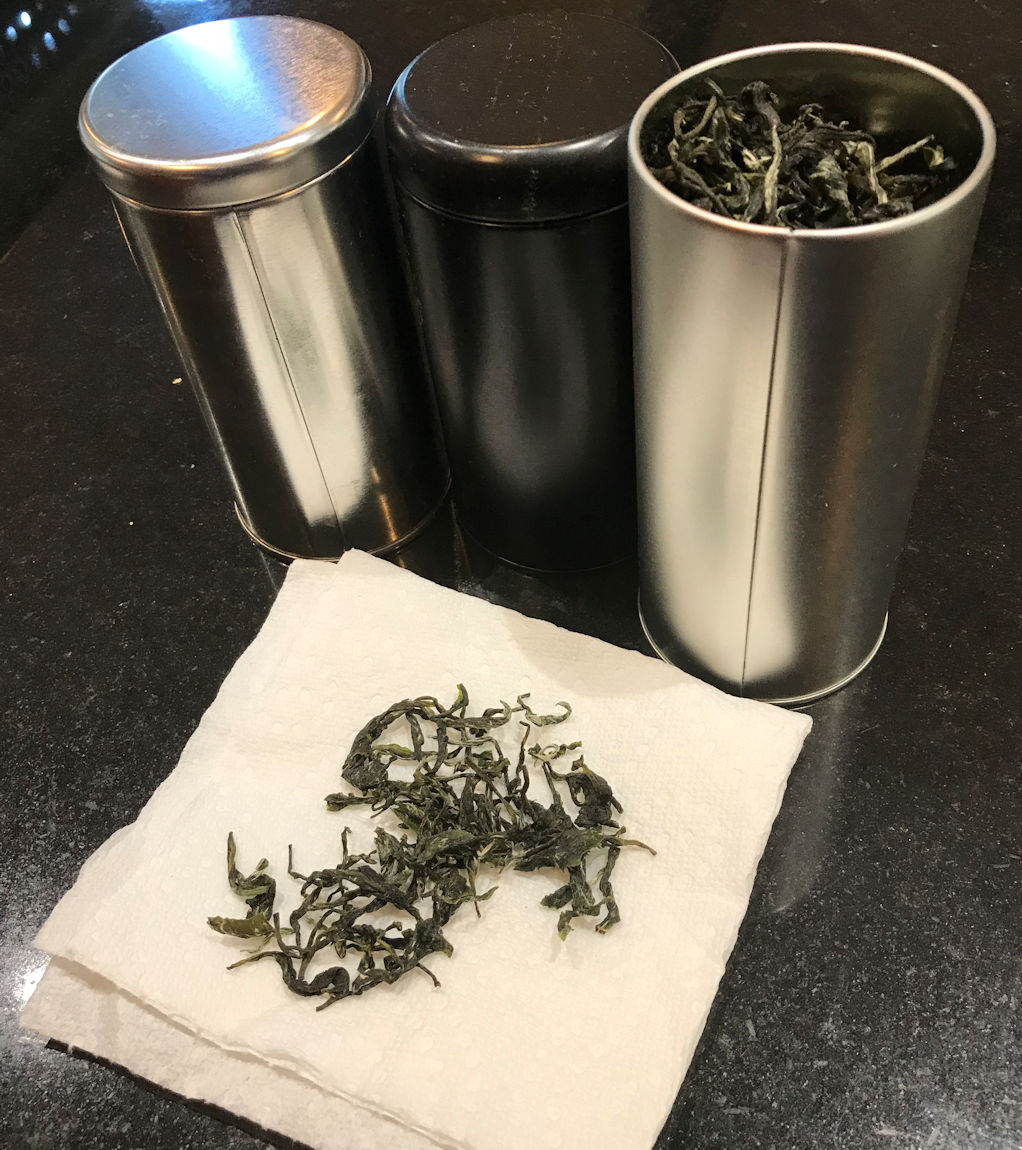
First batch in tins: Forager’s Green Tea. 500 gm of fresh leaves gave us 110 gms of finished tea